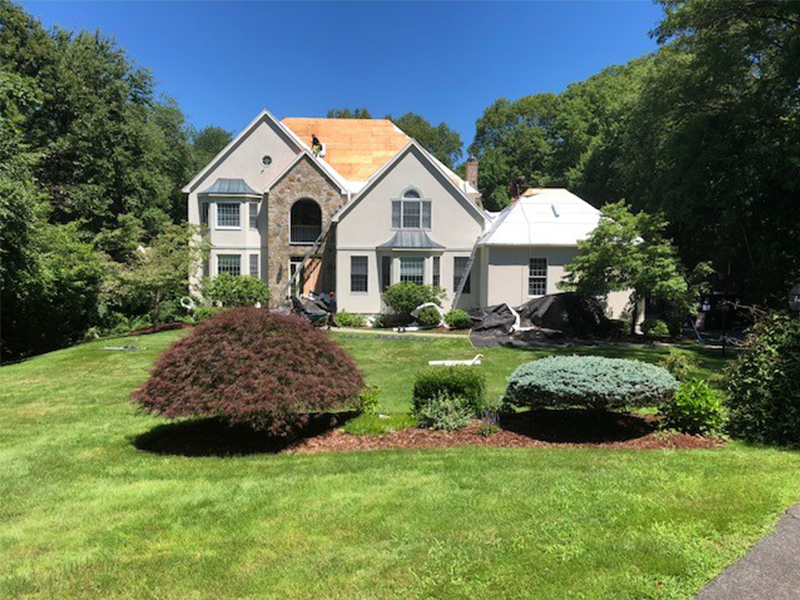
The road from the initial decision to get a new roof to the final installation can seem intimidating. At Lifetime Roofing, we understand the intricacies involved in transforming your home’s protection from the top down, literally.
Our process is designed to be transparent, efficient, and tailored to meet your specific needs, from selecting the right roofing materials to ensuring the use of proper tools for installation. Each step, whether it’s removing your old roof or installing state-of-the-art ventilation systems, is executed with precision and care.
Keep reading to get a comprehensive look at roof installation from start to finish and learn why hiring a professional roofer like Lifetime Roofing can make all the difference.
Pre-Installation Preparation
At Lifetime Roofing, we make sure you and your roof are fully prepped before we even start your project. We start with a thorough evaluation of your existing roof, taking the time to assess the condition of your current roof, and identifying any issues that need attention before we begin the work of bringing your new roof to life. This often includes the strategic removal of the old roof while protecting the structural integrity of your home.
Next, we select the best roofing materials that meet your home’s specific needs, your preference, and code and structural requirements. From the latest in durable synthetic composites to traditional asphalt shingles, our team ensures that every component selected for your roof is of the highest quality. This careful selection process is complemented by the meticulous organization and readiness of our roofing tools, ensuring we’re fully prepared to begin the transformation of your roof.
Roofing Materials and Tools
The right choice of roofing materials is key to the longevity and performance of your roof. With a wealth of options available, it’s essential to consider factors such as climate, the architectural style of your home, and your budget. This ensures not only aesthetic harmony but also long-term durability against the elements.
Our selection of roofing materials embraces a range of options to suit your specific needs and preferences: from classic asphalt shingles known for their cost-effectiveness and ease of installation to high-end slate and metal options, recognized for their longevity and environmental sustainability.
Determining the best choice involves a careful balance of these factors:
- Durability and lifespan
- Maintenance requirements
- Aesthetic appeal
- Cost
- Local climate suitability
Removal of Old Roofing
Before we can install a new roof, we need to replace the old one. We systematically strip away the old materials, ensuring that every nail, shingle, and piece of underlayment is removed safely. This careful dismantling allows us to inspect the deck for any signs of damage or wear that needs to be addressed before installing the new roofing materials.
We’ve seen our fair share of roofs in various states of disrepair and damage, so we come prepared for anything. Whether it’s removing aged shingles without damaging the structure underneath, or dealing with unexpected problems beneath the surface of your roof, we’ve got your covered.
Repairing Roof Deck and Installing Underlayment
Once the old roof is carefully removed, the next critical step in ensuring the integrity of your new roof is repairing the roof deck. The roof deck, or the material under your shingles, is the foundation for your roof. We inspect the deck for any signs of wear, rot, or structural damage that could compromise the quality of your new roof.
If we identify any problems. We can repair them before the new roof goes on. This may involve replacing damaged wood, reinforcing weak areas, or adding new materials to ensure the deck is level and sturdy. This step makes sure that once your new roof is on, it will last you for years to come.
Once we’re sure all outstanding issues with the roof deck are resolved, we move onto installing your underlayment. This second layer of protective material further guards your roof against weather and damage to ensure it remains structurally sound.
Installing Flashing and Drip Edge
Once the underlayment is in place, the next phase in the roof installation process is installing the flashing and drip edge. But what is flashing, and how is it different from a drip edge? While similar, these closely related features serve separate functions, often in conjunction with each other:
Flashing – thin strips of metal used to direct water away from places where water could accumulate between your shingles and the rest of your home (chimneys, walls, etc.)
Drip Edge – a type of flashing along an edge meant to direct water away from your home.
Along with a solid gutter and rain spout system, quality installed flashing and drip edges can prevent costly water damage to your roof and are essential for extending its life. We install these with care to meet the exact measurements and shape of your home.
Roofing Material Installation
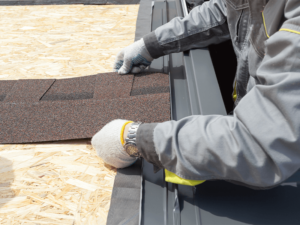
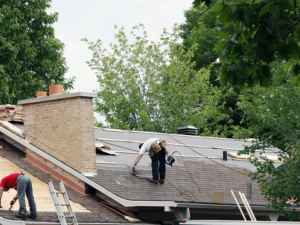
With your roof fully prepped, we install your chosen material. Here your roof really takes shape and requires close attention to detail. We cut and align each piece of material carefully to avoid gaps and make sure your roof is fully covered. This step culminates in placing ridge and hip shingles, completing your new material installation.
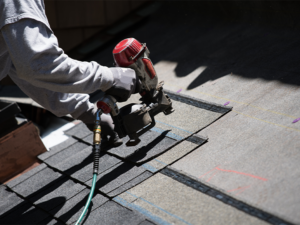
We equip ourselves with the latest roofing tools and technology, streamlining the installation process without compromising on quality. The trust and satisfaction of homeowners drive us to not only meet but exceed the industry standards with every roof we complete.
Ventilation and Insulation
With the main roof installed, we then make sure it’s set to last. Proper ventilation and insulation prevent the buildup of heat and moisture in the attic, which can lead to a multitude of issues, including decreased energy efficiency and damage to roofing materials over time.
- Assessing the existing attic ventilation and insulation to identify improvements.
- Integrating new ventilation points as necessary to optimize airflow.
- Upgrading insulation materials to enhance thermal efficiency and roof performance.
Our team is skilled in evaluating your home’s current ventilation and insulation, making strategic enhancements to improve air circulation and thermal regulation. This not only helps in extending the life of your roof but also contributes to a more comfortable and energy-efficient home environment. We integrate advanced ventilation solutions and high-quality insulation materials that align with the latest standards and technological advancements in roofing.
Finishing Touches
With the main project completed, our team at Lifetime Roofing will put the finishing touches on your roof, making sure it looks, and functions, just right. We take time to perform a detailed inspection, ensuring that every shingle, flashing, and sealant is perfectly placed and properly secured. Once we’re sure your roof is good to go, we do a comprehensive cleanup of the site, leaving your property like we were never there.
Concluding the project with a final walkthrough with you, the homeowner, allows us to address any questions and confirm your complete satisfaction. It’s a vital part of our process at Lifetime Roofing, embodying our commitment to transparency and customer service. This step reaffirms our promise of delivering not just a new roof but peace of mind, ensuring your investment enhances and protects your home for years to come.
Maintenance Tips for a New Roof
Now that you’ve got your new roof, it’s important to keep it in top shape. One service we highly recommend is to schedule regular inspections for your roof. A good rule of thumb is to have your roof inspected by professionals like us at Lifetime Roofing at least once a year, and more often if your area is prone to damaging storms. This proactive measure can identify potential issues before they escalate into costly repairs.
- Conduct professional roof inspections annually.
- Keep gutters clean to prevent water damage.
- Trim overhanging branches to avoid physical damage.
- Check for signs of wear or damage after severe weather.
- Maintain records of repairs and maintenance for future reference.
Another important aspect of roof maintenance is keeping your gutters clean. Clogged gutters can lead to water buildup, which in turn can cause damage to your roof and the underlying structure. Making a point to clean out leaves and debris twice a year can safeguard against these potential problems.
Last but not least, don’t overlook the importance of addressing any minor issues as soon as they’re spotted. Whether it’s a missing shingle or a small leak, early intervention can prevent more significant damage. Preventative steps and prompt action today can help avoid larger repair projects in the long run.
Call Lifetime Roofing Today!
From the initial inspection and prep to your ongoing maintenance, Lifetime Roofing is your partner in setting up your roof for long term success. Together, we ensure your roof is more than just a structure; it’s a safeguard for your home and family for years to come. We believe in transparency with our customers and by walking you through the entire roof replacement process, we want you to be informed and prepared for the entire process.
Ready to see the difference a new roof can make for your home? Contact Lifetime Roofing today online to request a free quote or call us to get started on your new roof!


